
Add & verify a domain
Before your team can use email on your domain, you add the domain and publish a set of DNS records at your domain provider. These records let NevTan Mail send and receive mail for you and prove your mail is legitimate.
Add a domain
Open domain setup
Go to Admin → Domain.
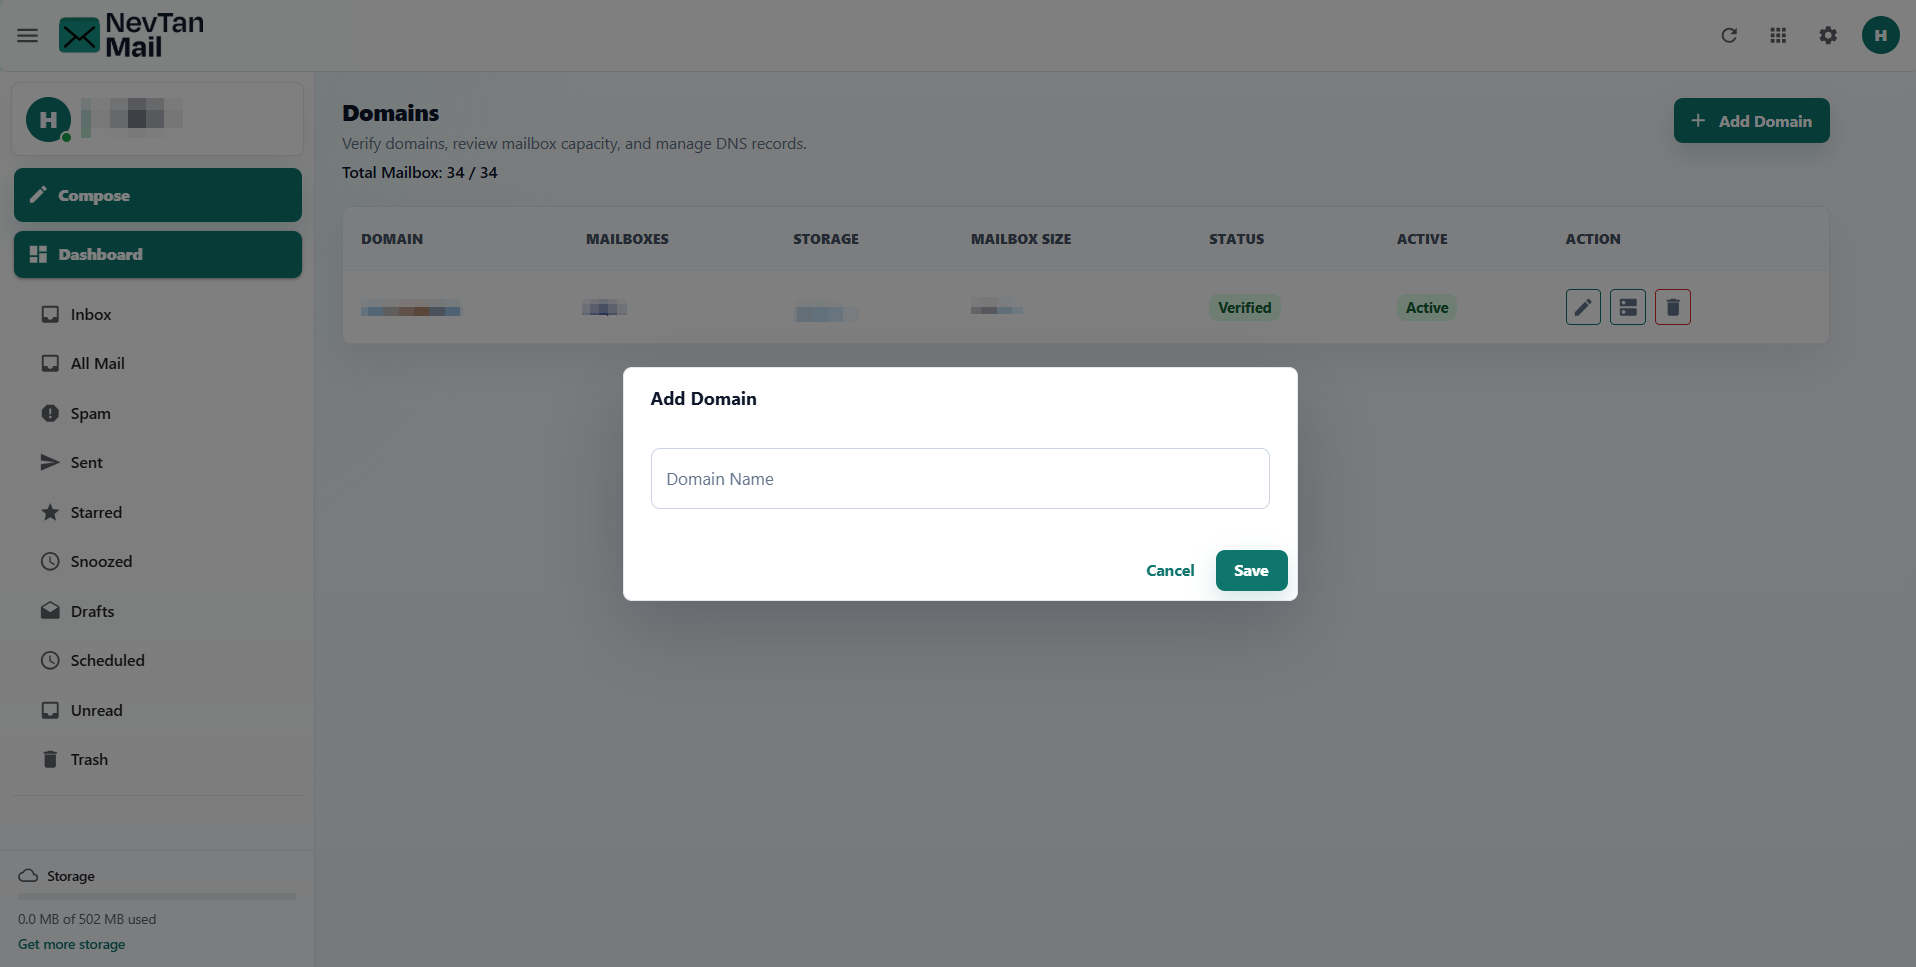
Add your domain
Choose Add Domain, enter your domain (for example yourcompany.com), and save.
Publish DNS records
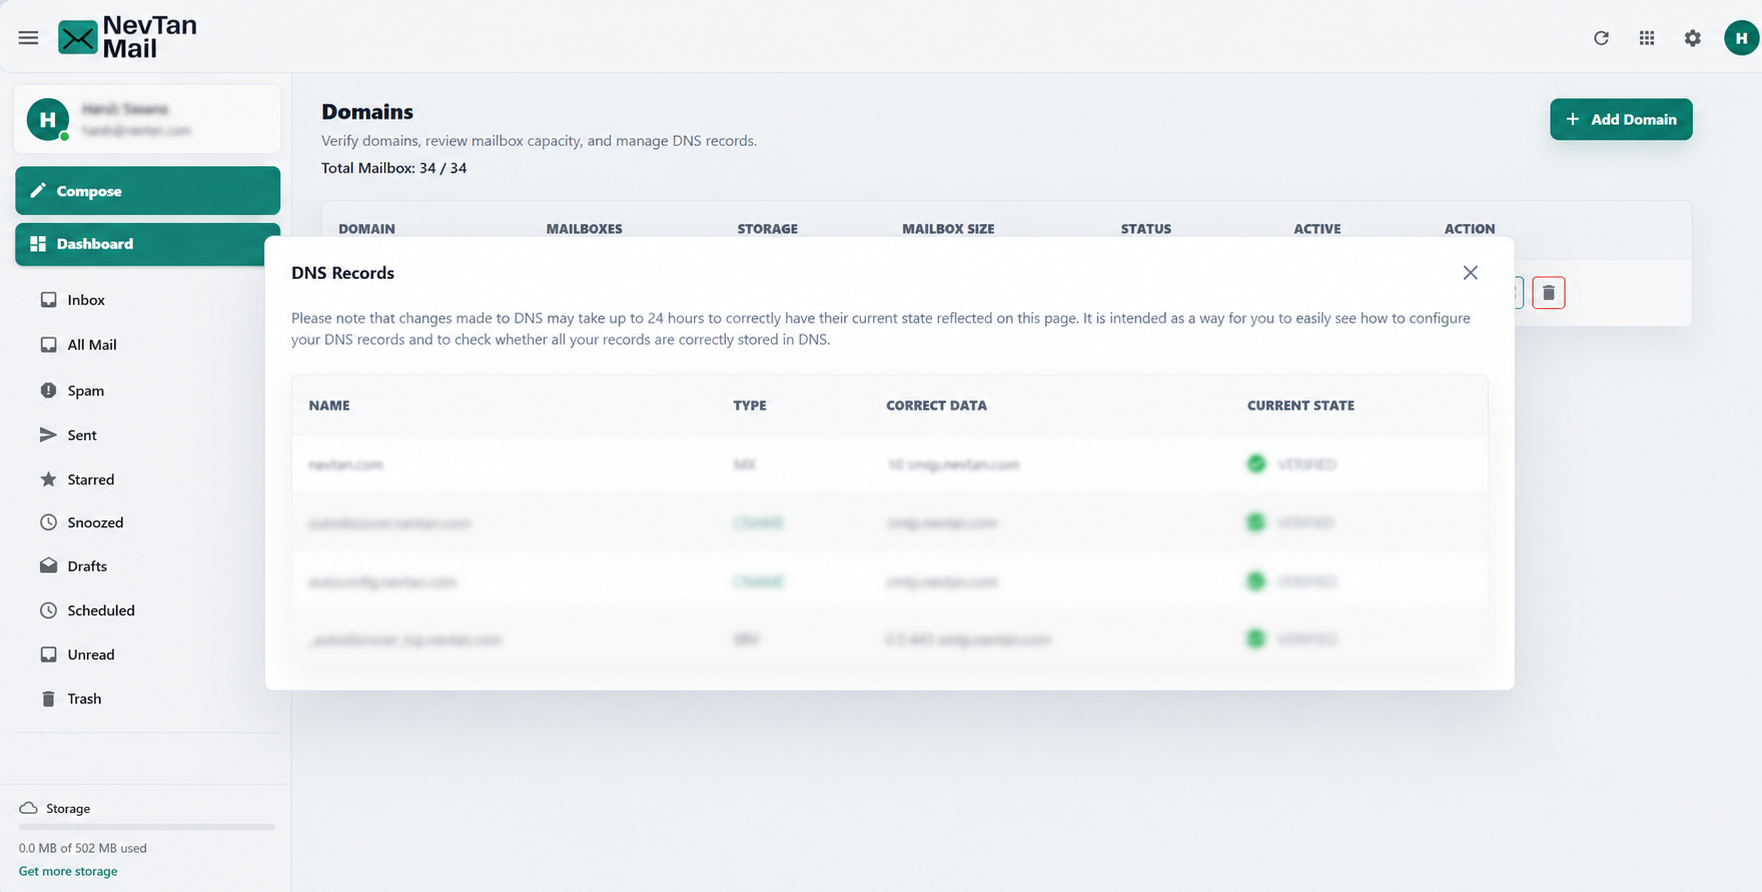
Select DNS next to your domain to see the records to add. NevTan Mail generates the exact values for your domain, so copy them from this screen rather than from anywhere else. Each row shows:
| Column | Meaning |
|---|---|
| Name | The host/record name to create at your DNS provider. |
| Type | The record type, such as TXT or CNAME (covering delivery and authentication like SPF, DKIM, and DMARC). |
| Correct data | The exact value to paste in. |
| Current state | Whether NevTan Mail can already see the record as correct, or is still waiting for it. |
Add each record in your DNS provider's control panel (for example Cloudflare, GoDaddy, or Route 53), matching the name, type, and value shown.
Verification
DNS changes take time to propagate. NevTan Mail re-checks your records and updates each row's state as they're detected; the domain's status moves from Pending to Verified once the required records are in place.
Allow time to propagate
DNS updates can take up to 24 hours (occasionally longer) to take effect. If a record still shows as pending, double-check the name and value at your provider and check again later.
Managing domains
The domain table shows each domain's mailbox usage, storage, size, status, and whether it's active, with actions to edit its settings, view DNS records, or delete it.
Still need a hand?
Our support team usually replies within one business day.